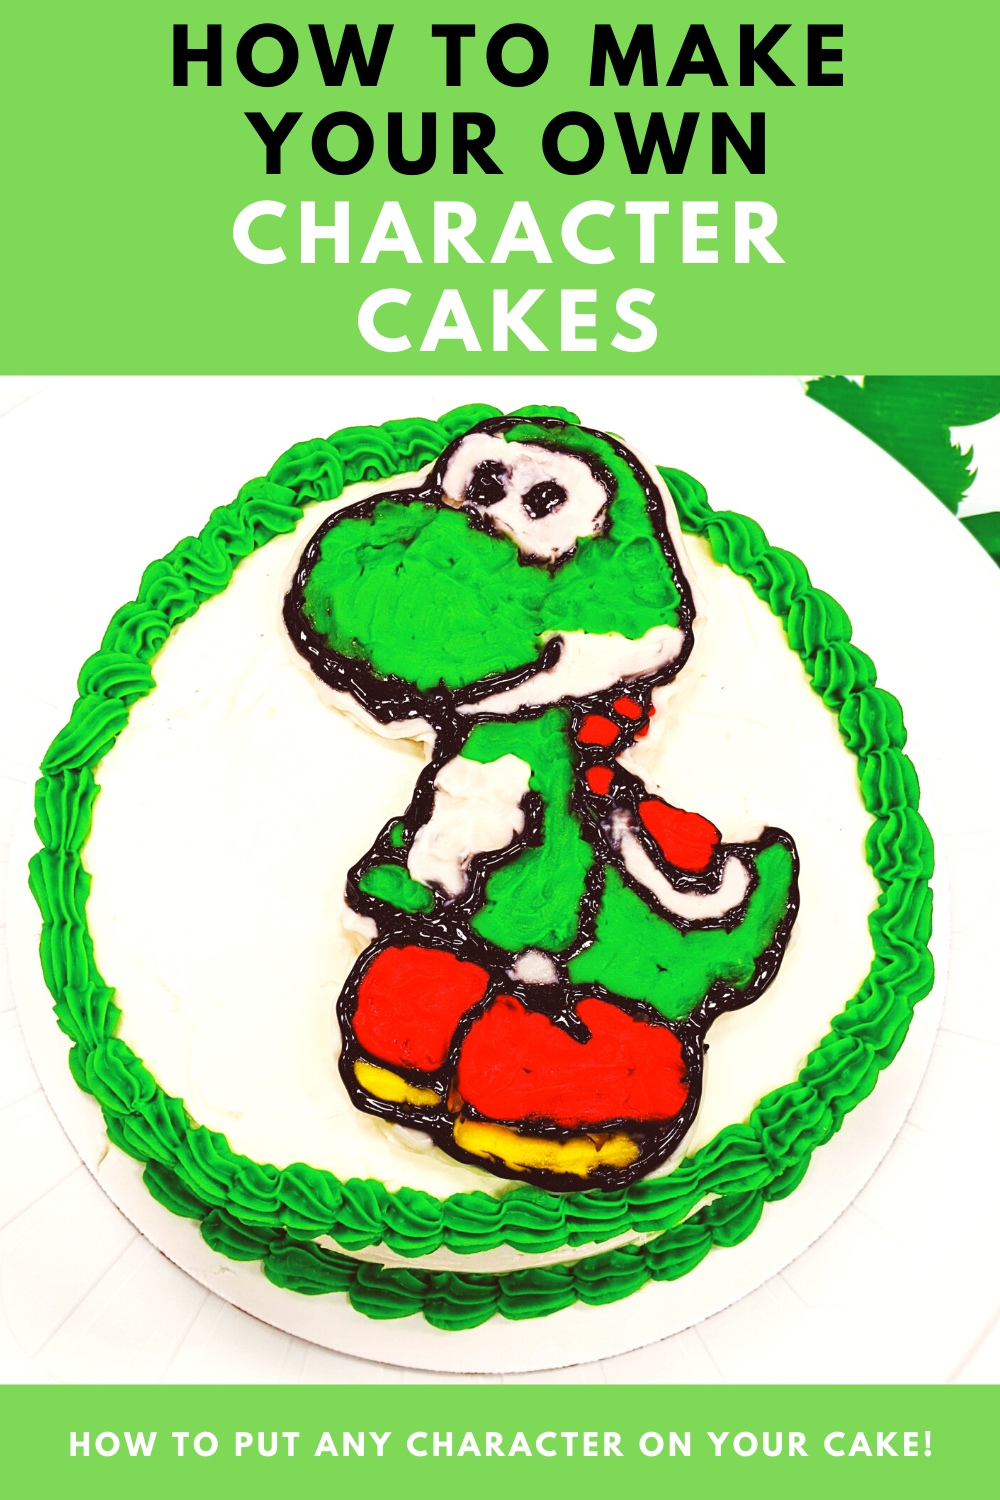
After the bakery we hired to make Colton’s birthday cake cancelled on us last minute, I had to figure out how to make a Yoshi cake on my own. I’m happy to report that I found this amazing method that allows basically anyone to put any character on a cake. Save this post on how to make a character cake for your kid’s next birthday, so you don’t end up in the same situation I did.
I may earn a commission on purchases from this post (at no additional cost to you). Please see our Legal page for more info.
How to Make a Character Cake
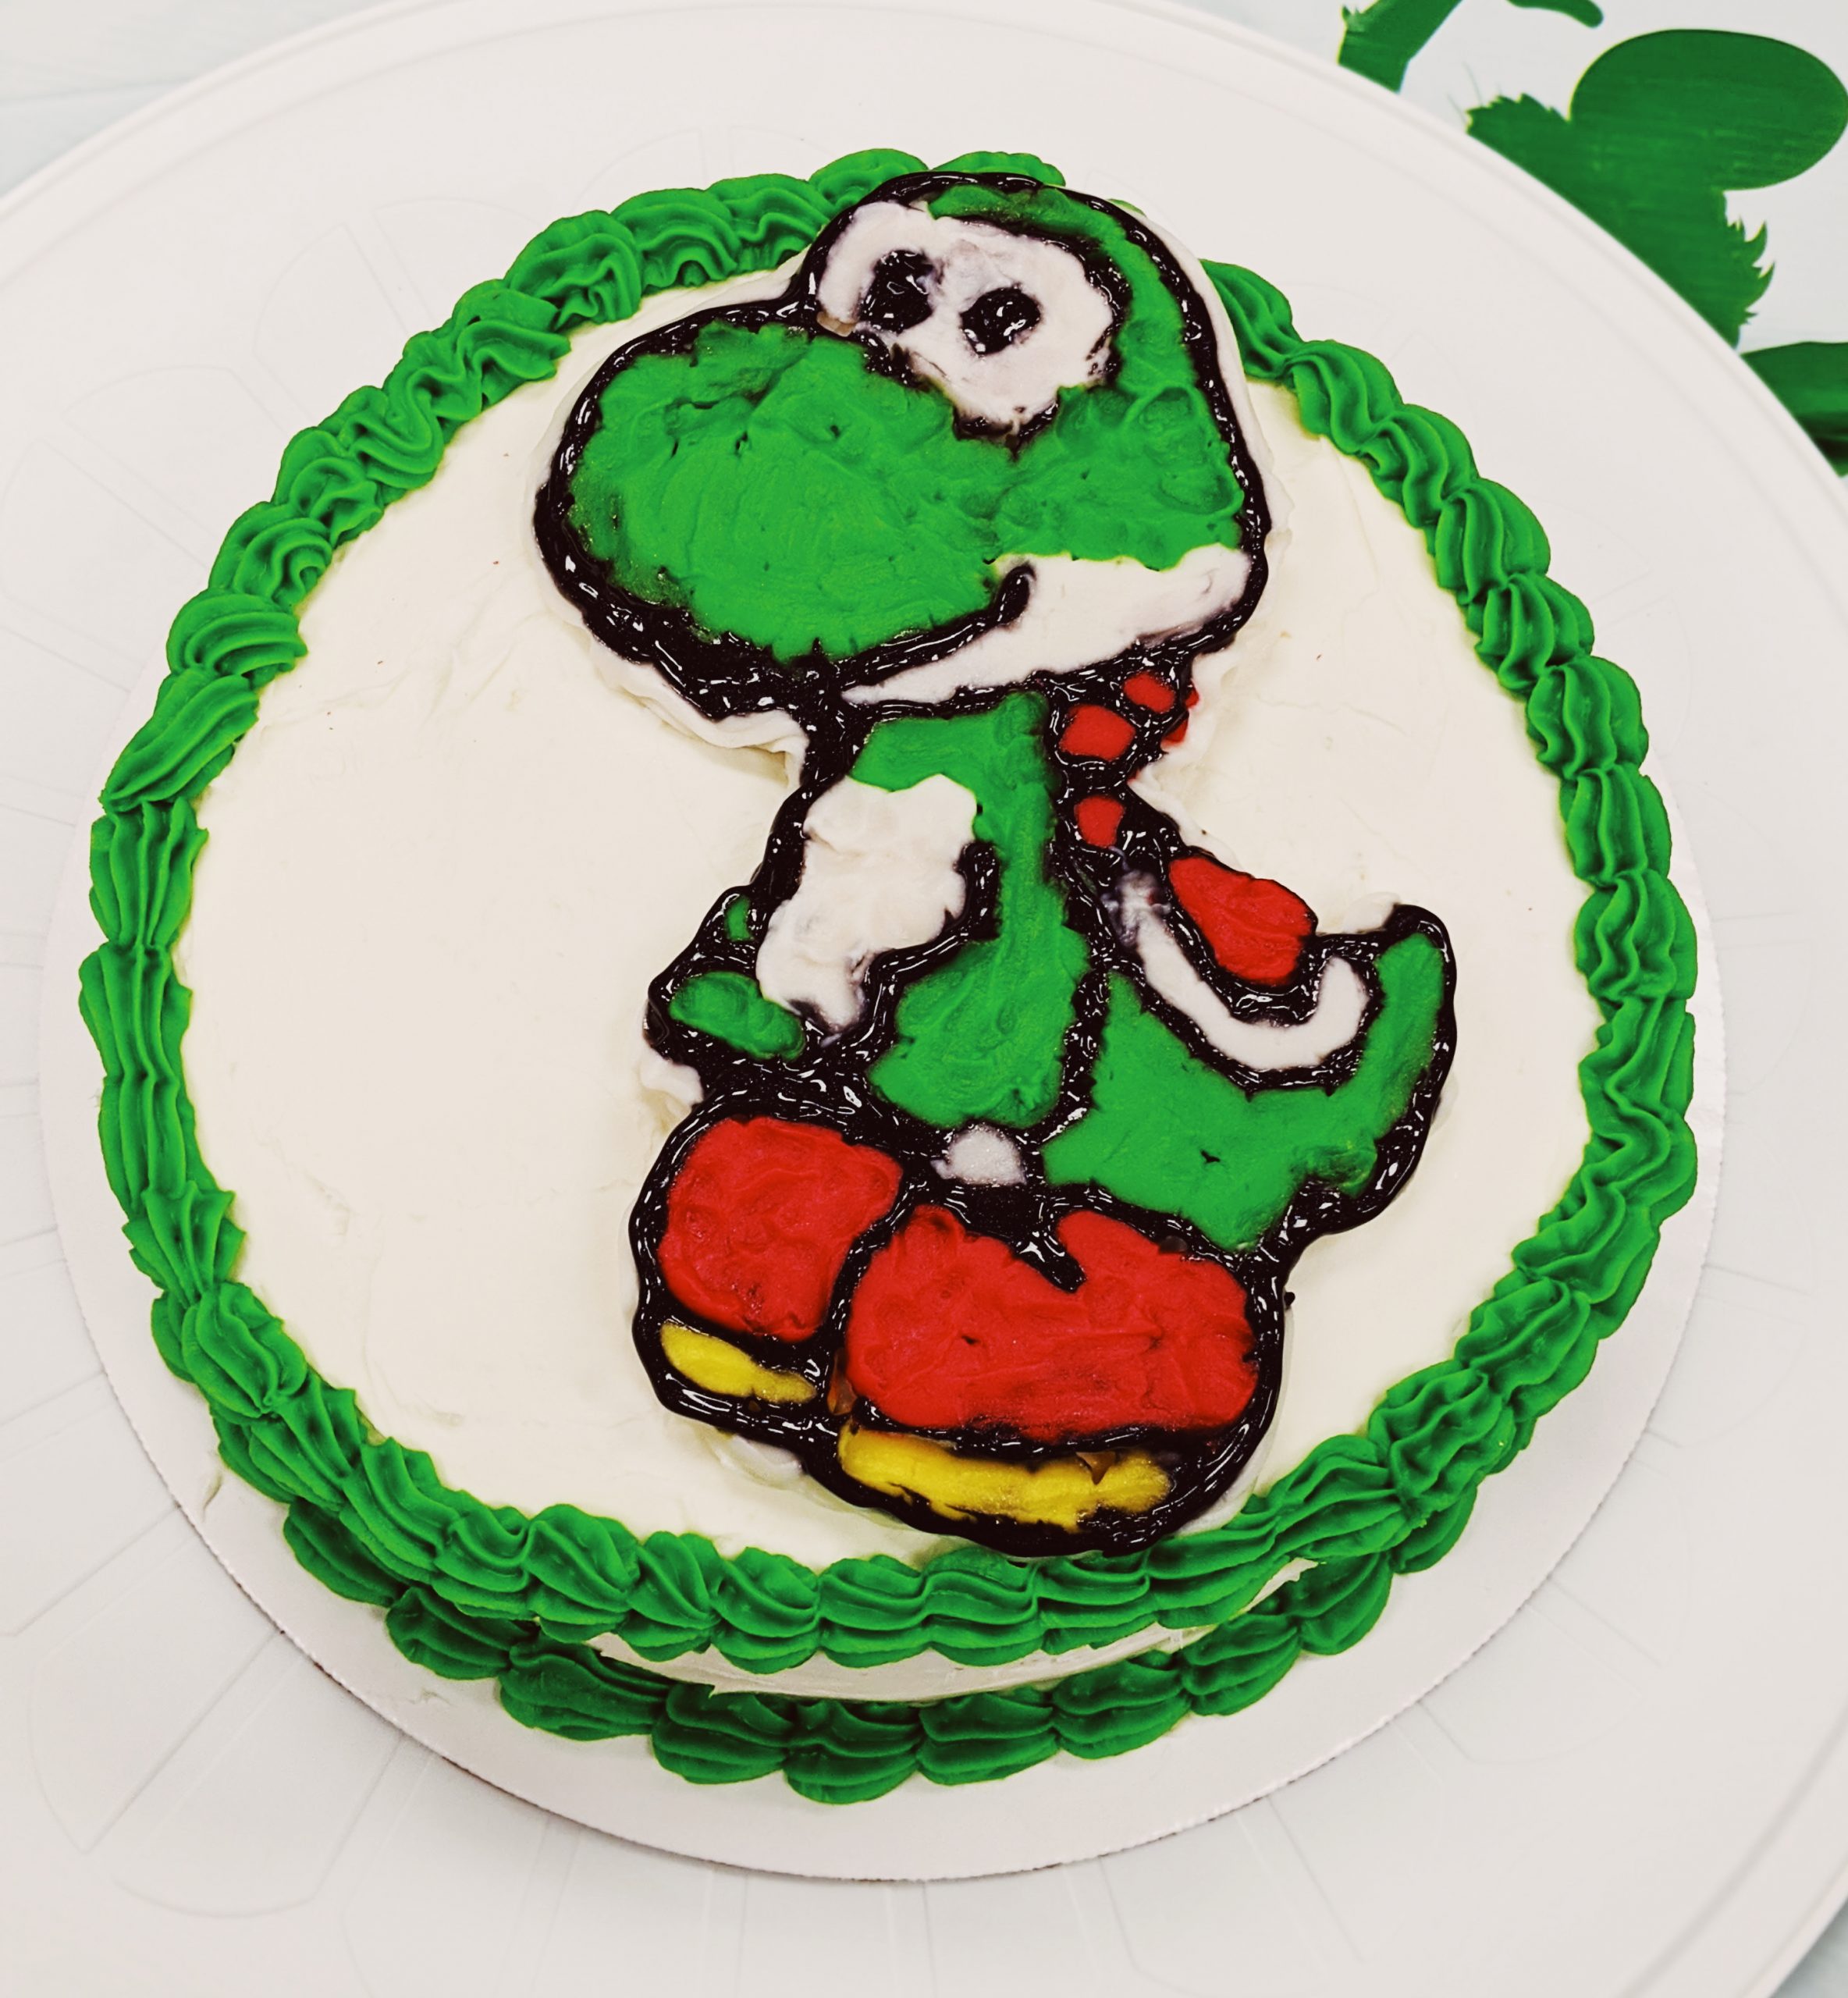
Colton LOVES Super Mario (remember how he had us all dress up in these Mario Halloween costumes?), so I wasn’t surpised he asked for a Yoshi cake for his 5th birthday. We ordered one from a grocery store bakery, but they cancelled the order a day before the party. I felt so bad for my little guy! He had been talking about his Yoshi cake for weeks.
I’ve made a couple birthday cakes for my kids over the past few years:
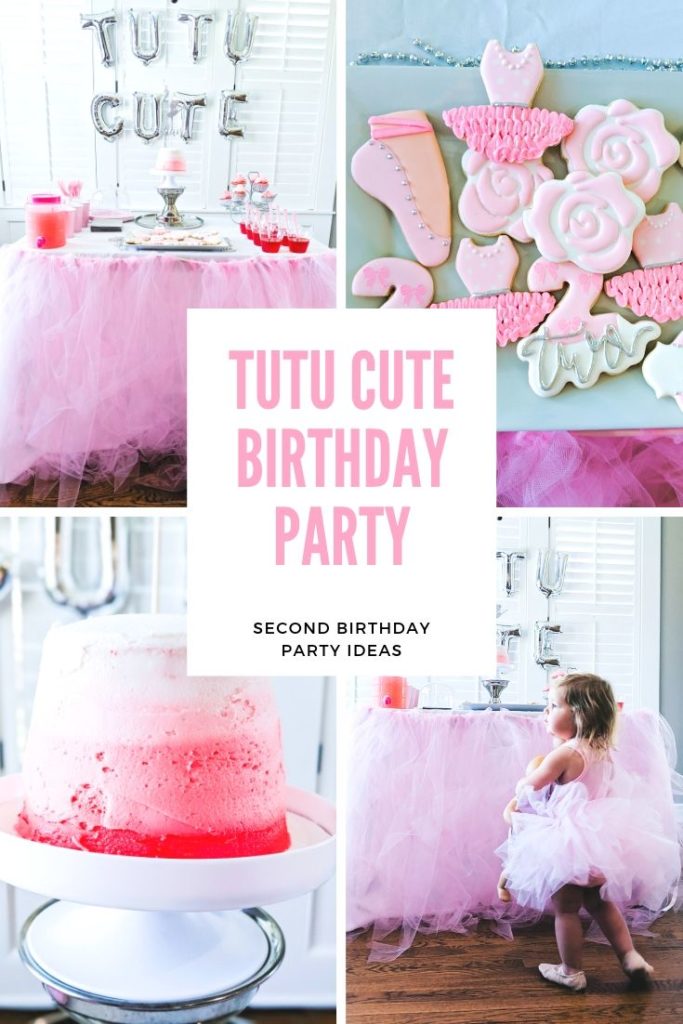
- DIY Ombre Cake for Blair’s 2nd Birthday
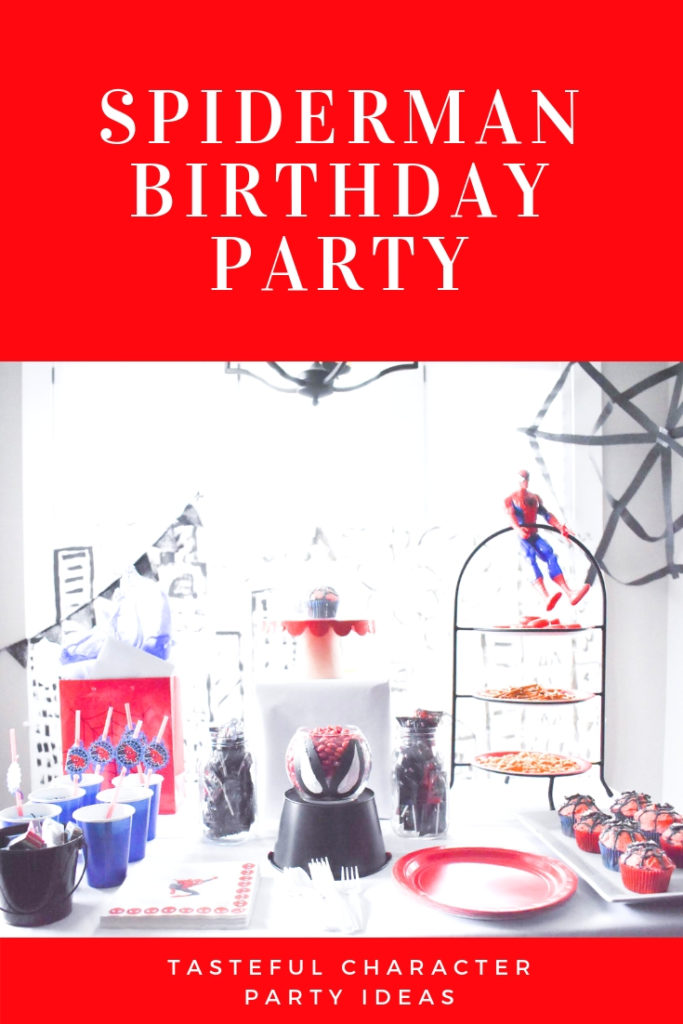
- Spiderman Cupcakes for Colton’s 3rd Birthday
- Tea Cupcakes for Blair’s 1st Birthday
But I’m hardly a pro.
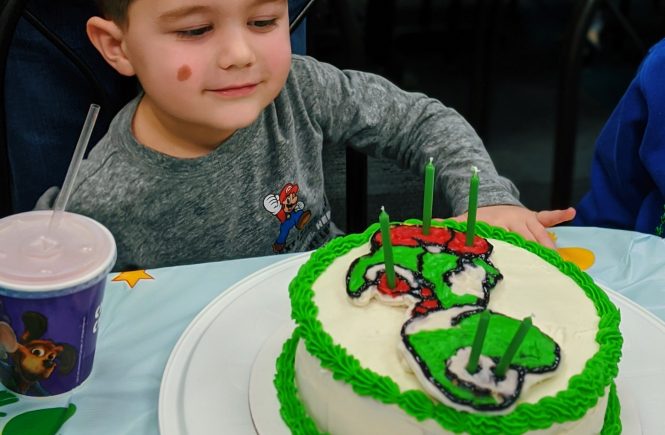
I’ll be the first to say this Yoshi cake didn’t turn out perfect. I certainly wouldn’t charge anyone for this level of work! But, Colton said it was perfect, and that’s all that matters.
What You Need to Make a DIY Character Cake
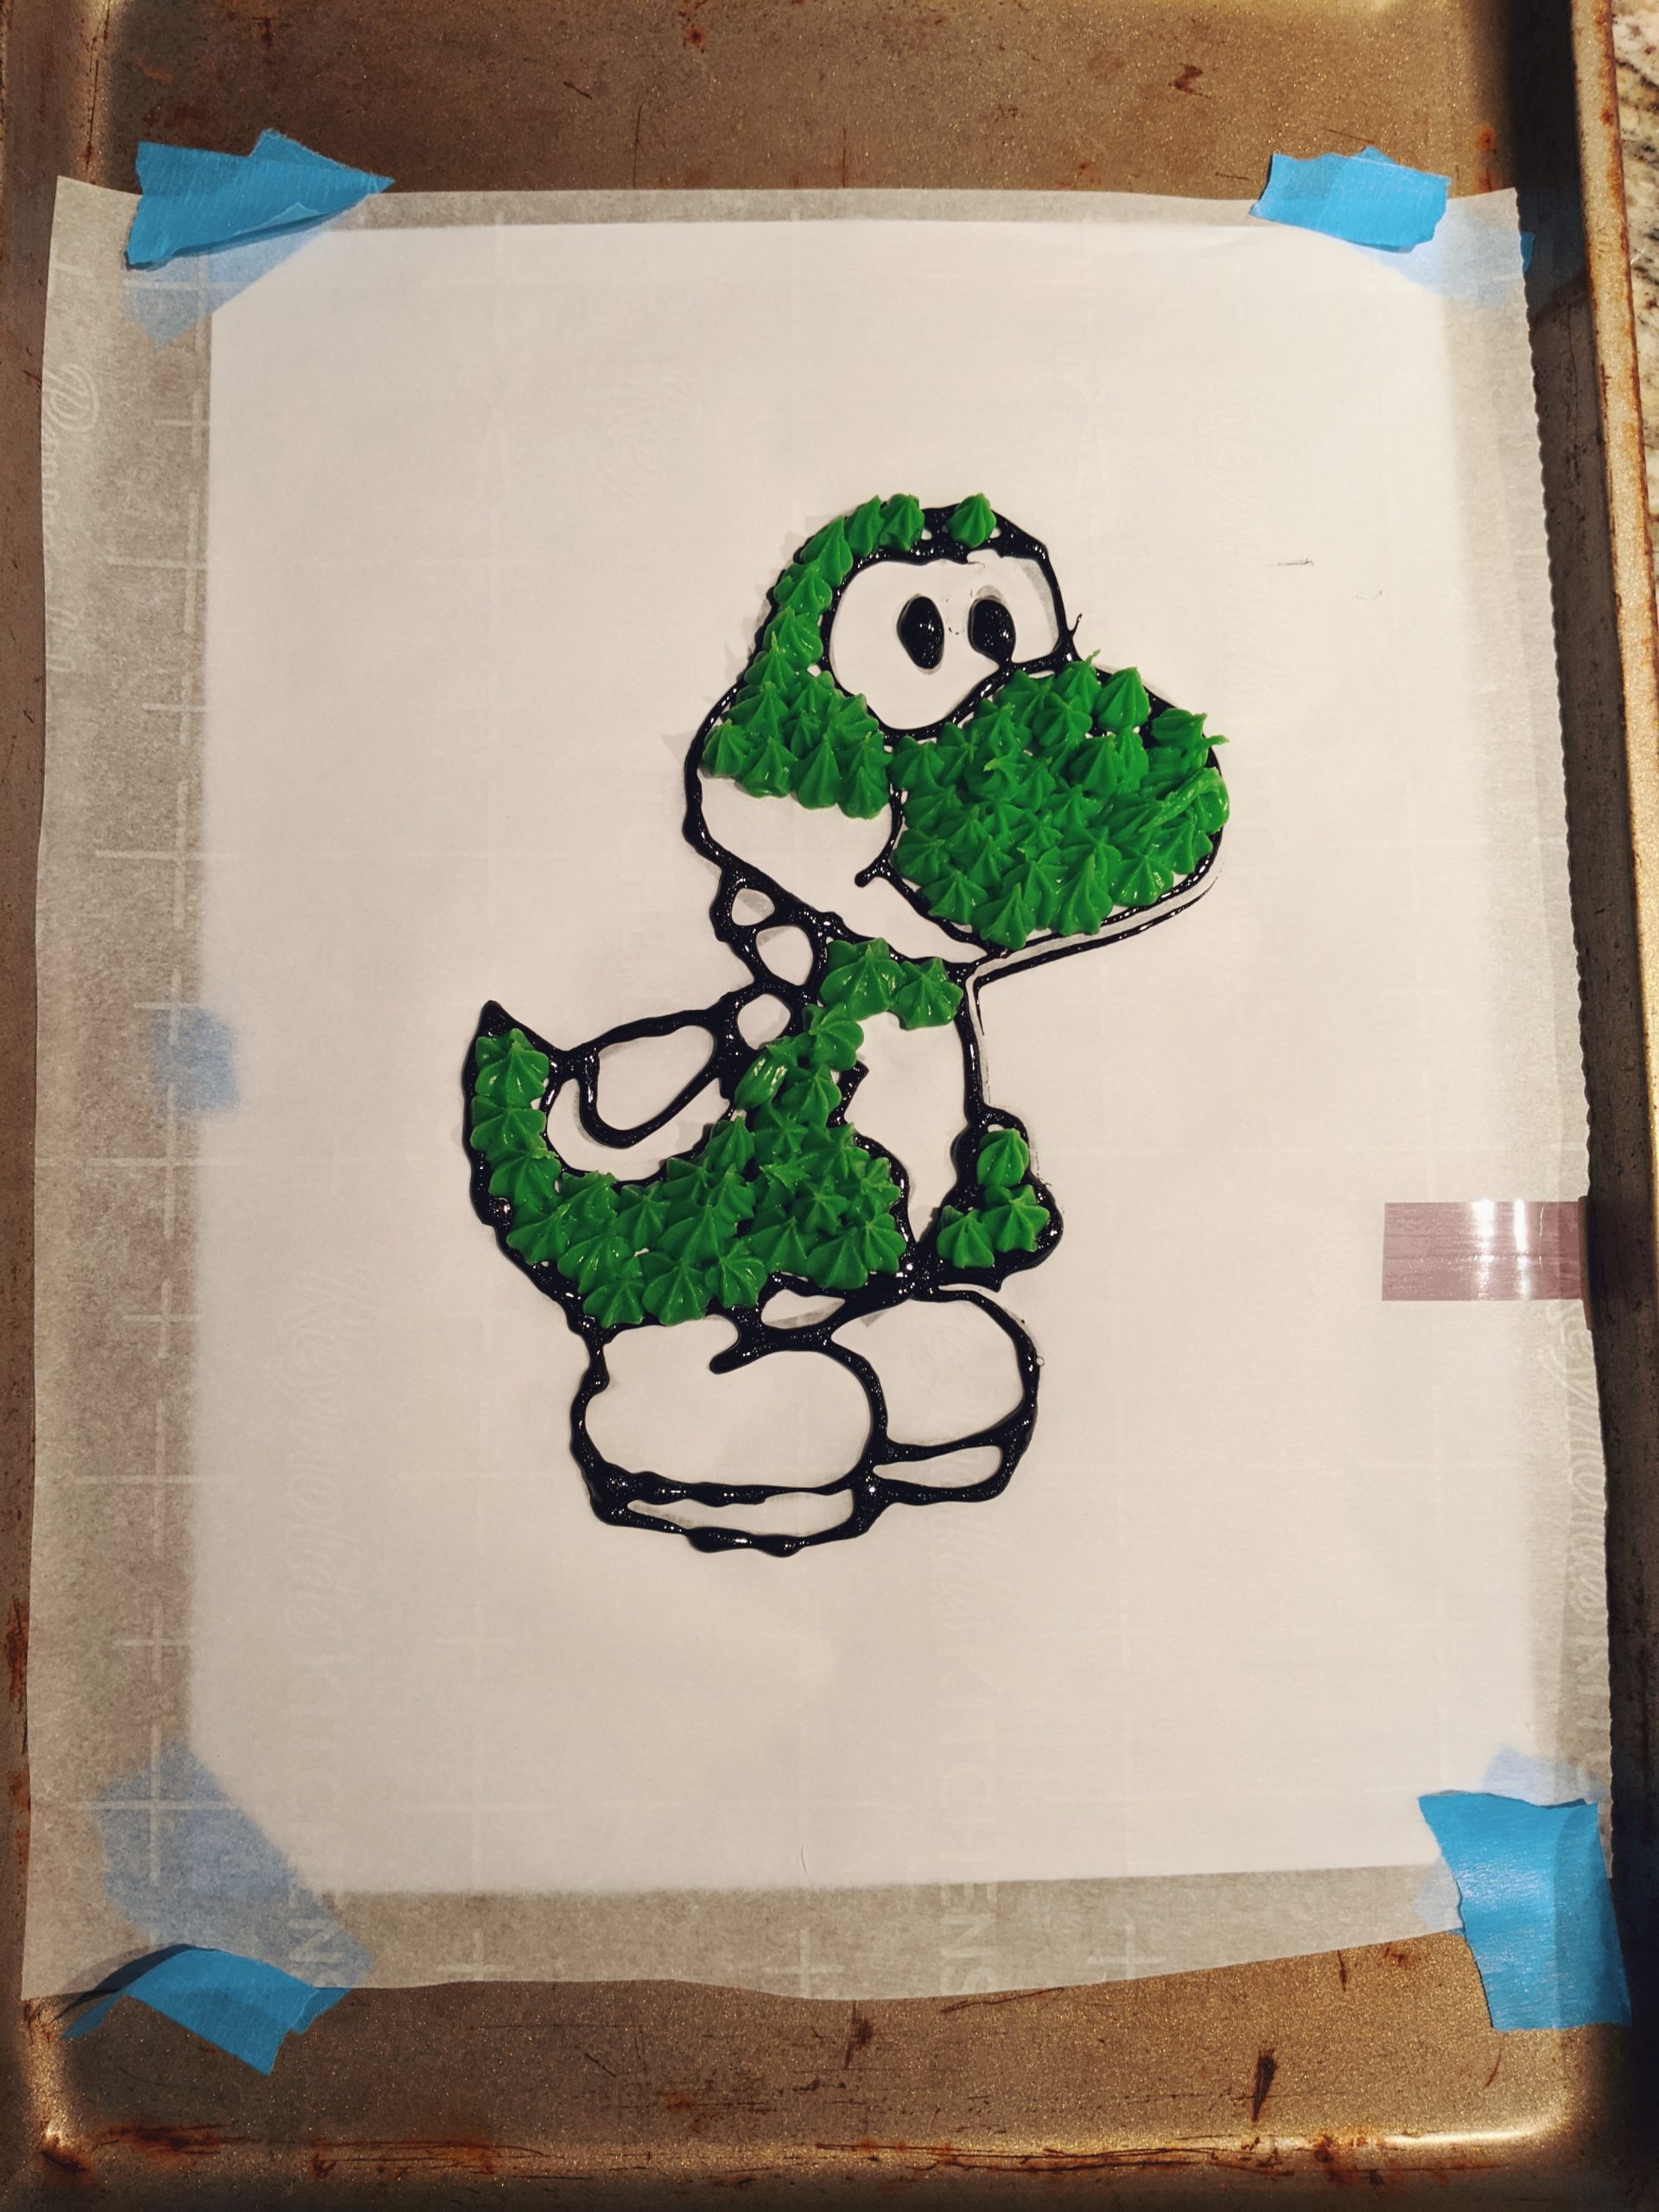
What You’ll Need to Make Your Own Character Cake:
- Baking Sheet
- Parchment Paper
- Icing
- Printed Character Design
IMPORTANT: You’ll need to start this process at least the night before you’ll need the cake. The design will not transfer well if it does not have time to freeze overnight. Longer in advance is even better.
The first step is printing your character design. I just did a Google Images search for Yoshi clip art until I found one I liked. Make sure to “flip” the image when printing! You’ll be flipping it over from the cookie sheet to the cake, so the design will end up backwards on the cake if you don’t flip when printing. Also, be sure to size the printed image so it will fit on your cake.
Tape the printed design onto your baking sheet. Then, tape a piece of parchment paper over it.
Now, you’re ready to decorate! First, outline your design with your chosen outline color (mine is black). Note, I used the Sparkle Gel icing for the outline and it did not transfer well. Learn from my mistake and use the normal decorating icing for this.
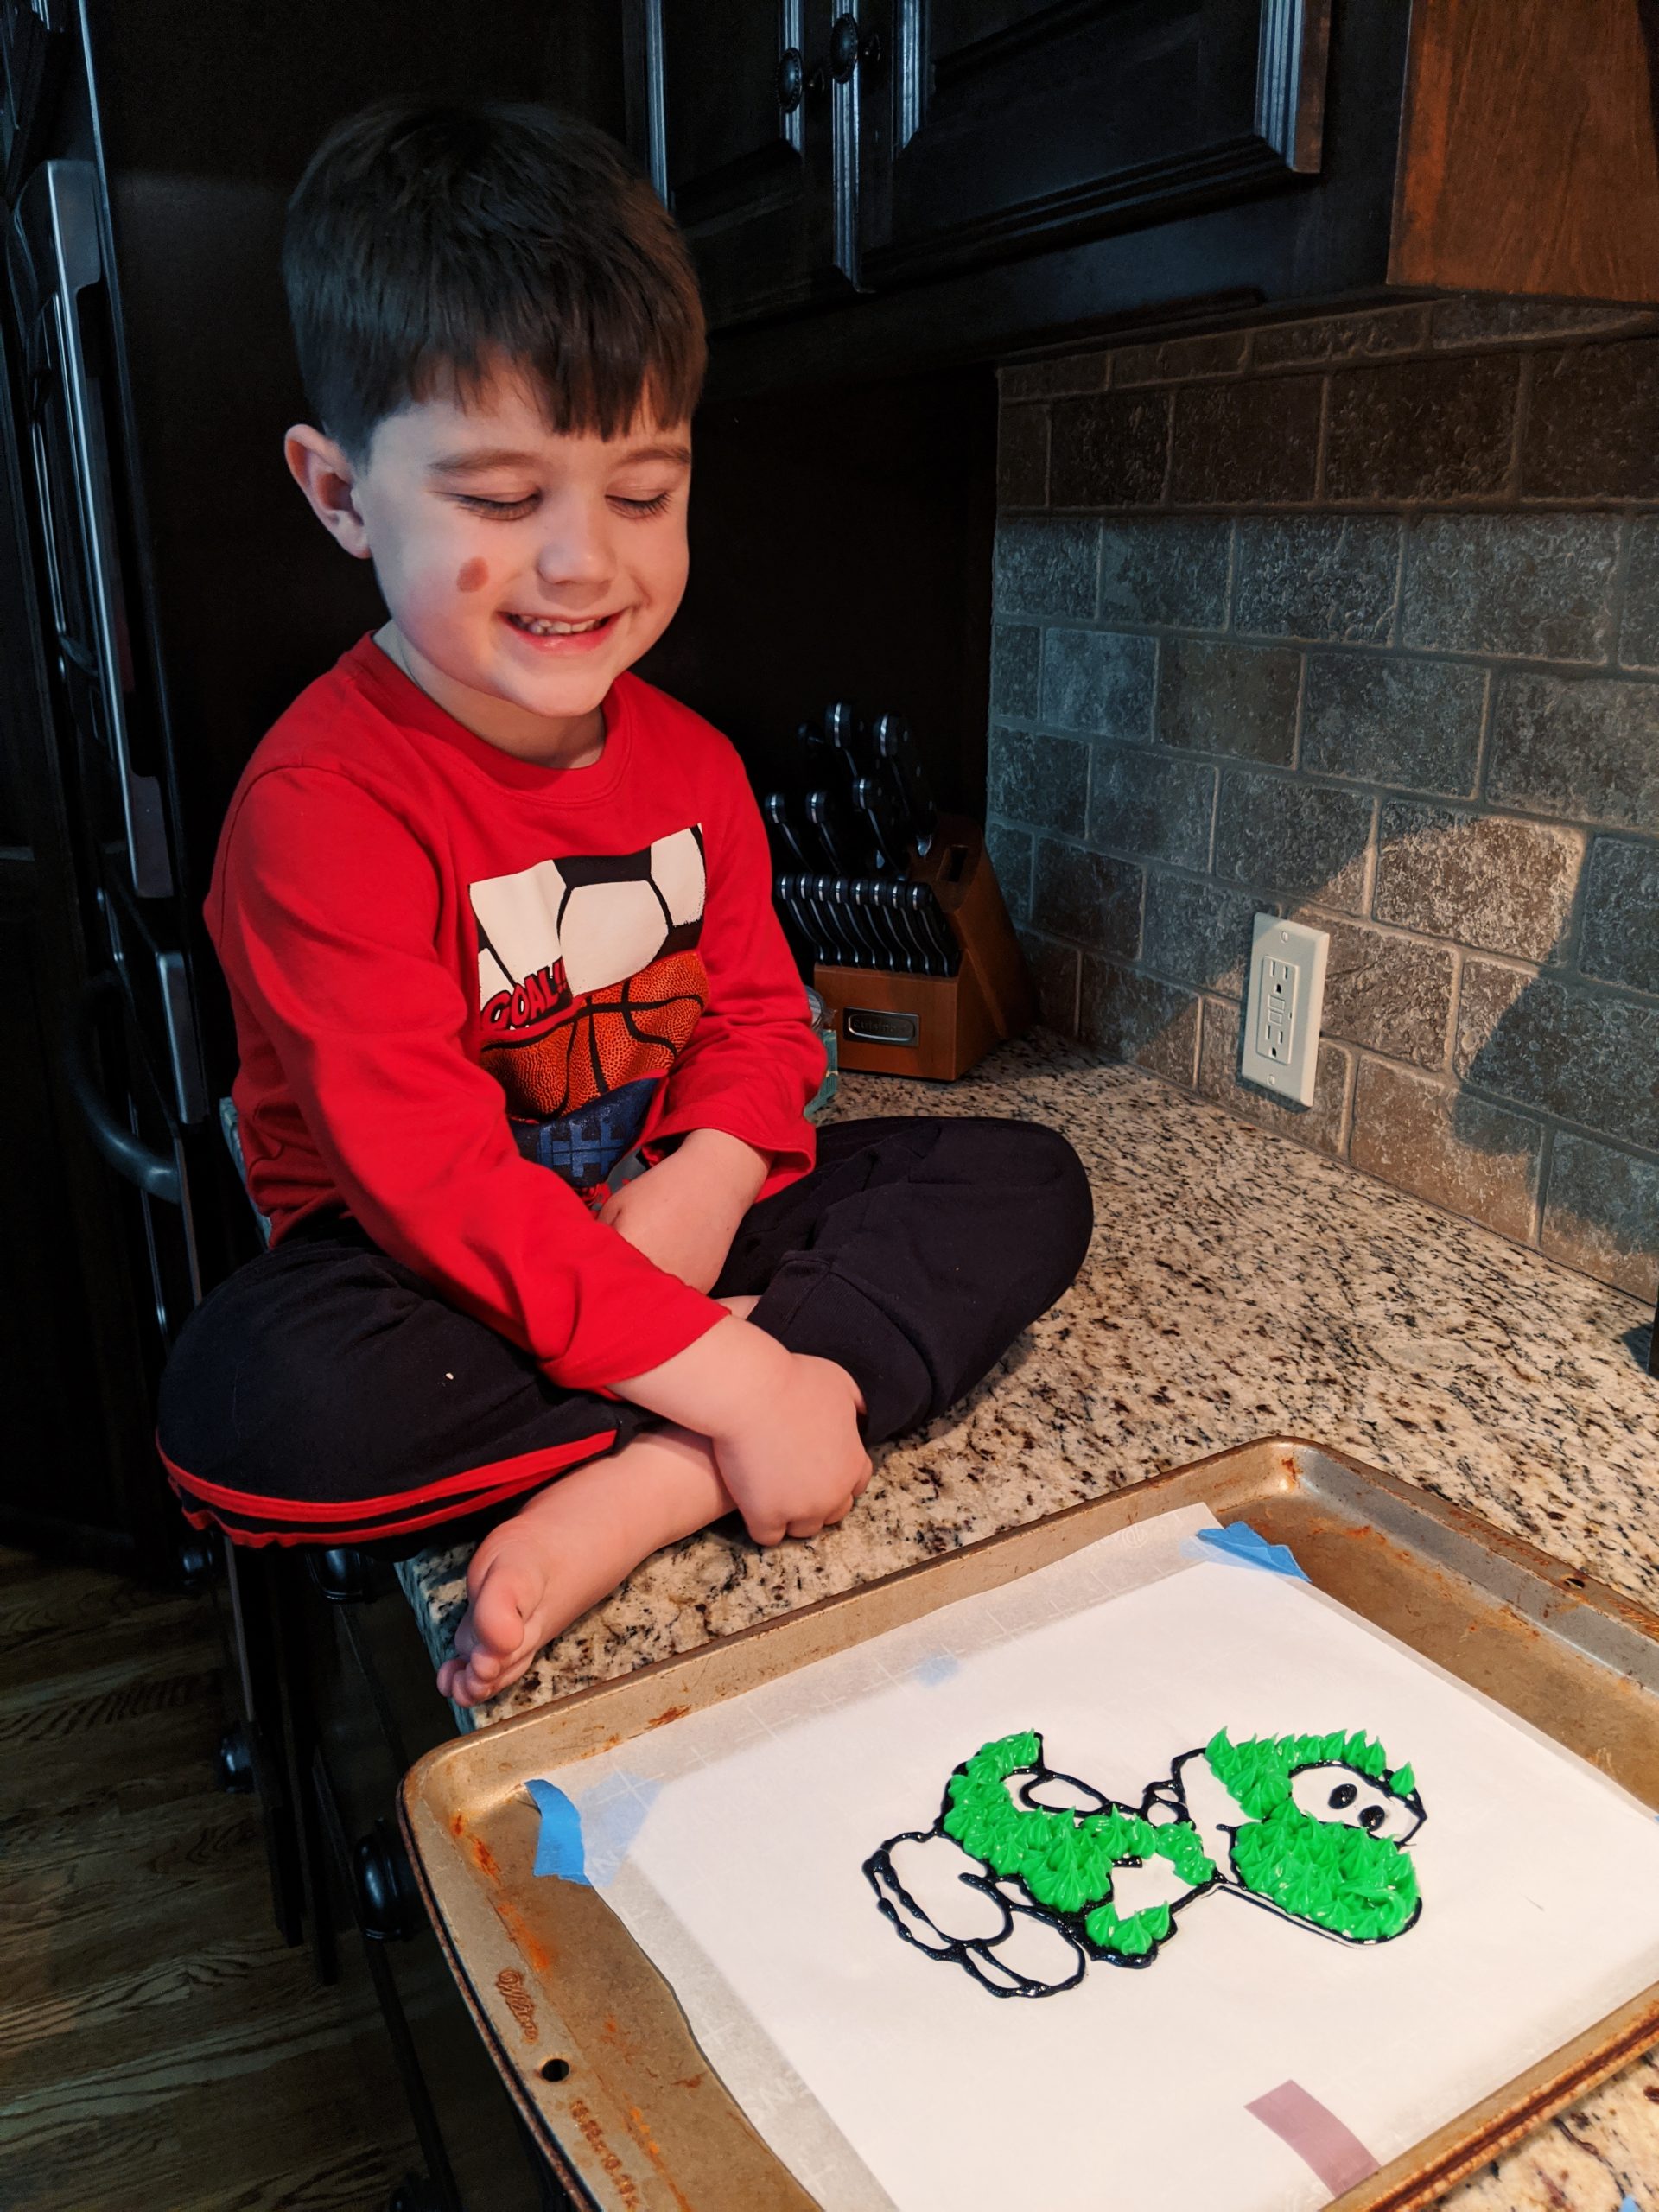
After outlining, start filling in using your chosen color. I chose to do this using a star tip. You could also use an icing spatula to spread the icing around, however, I think that would work best on a less intricate design.
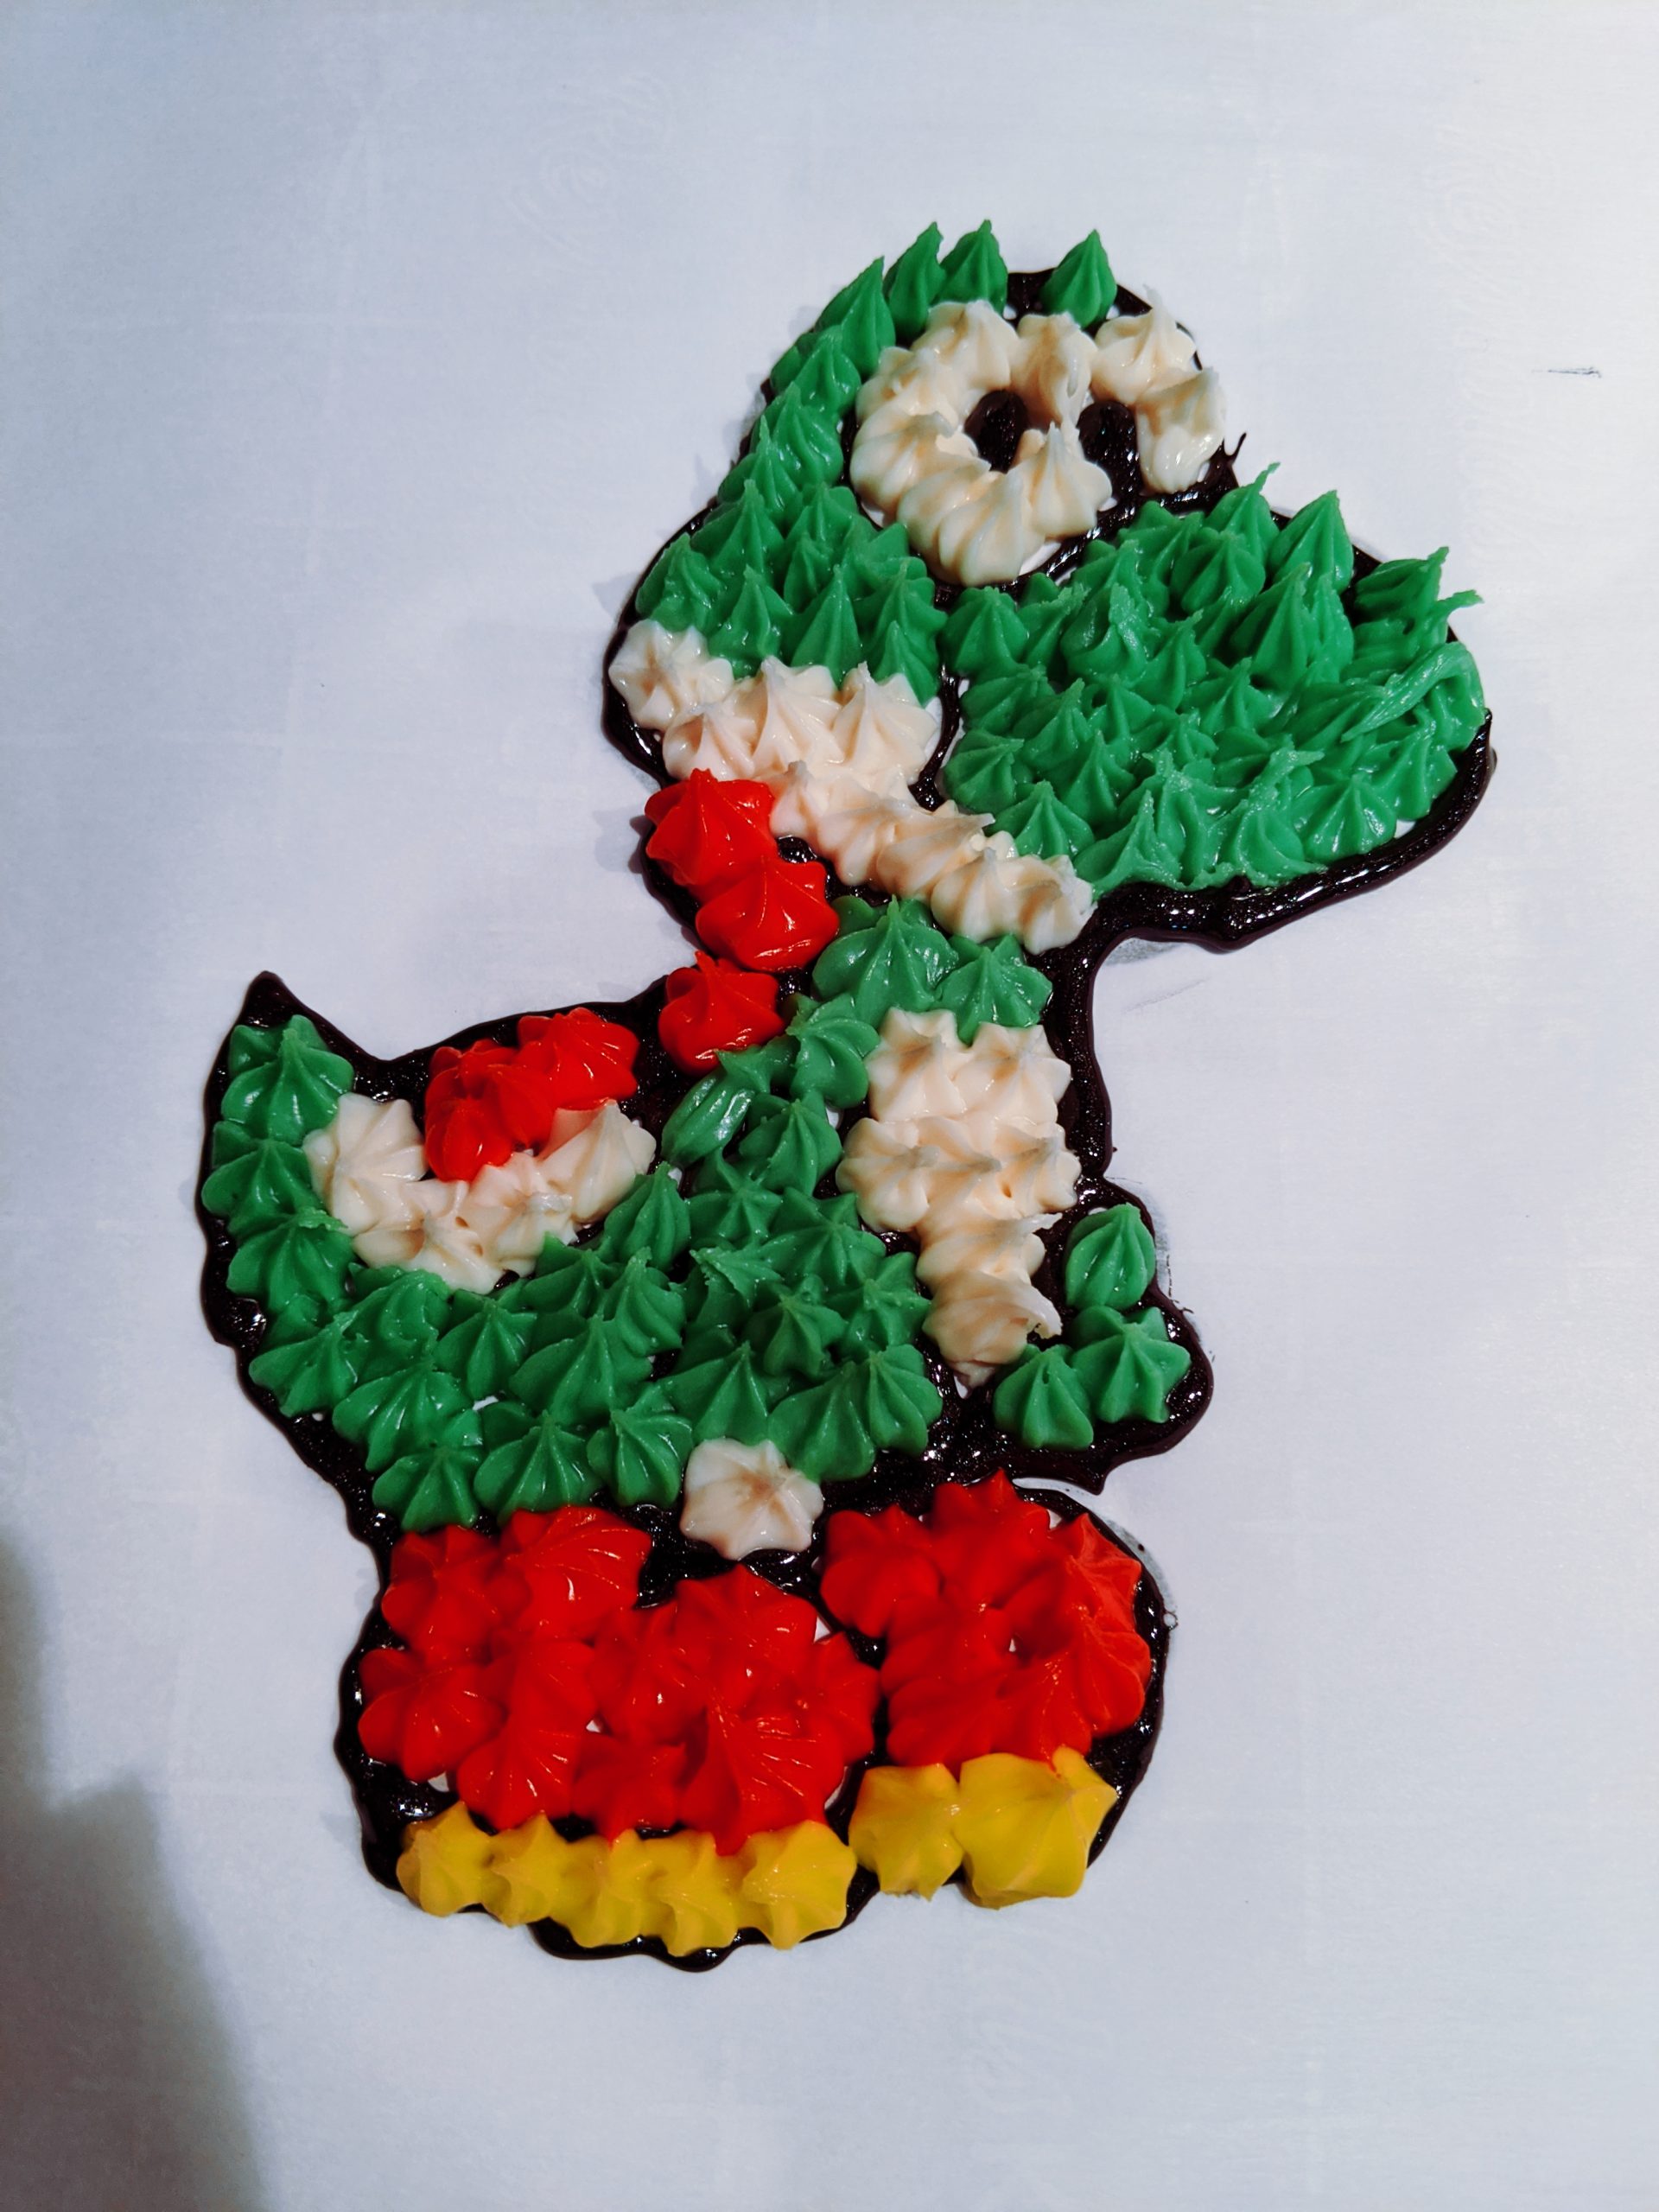
Here’s what our Yoshi looked like when he was all done.
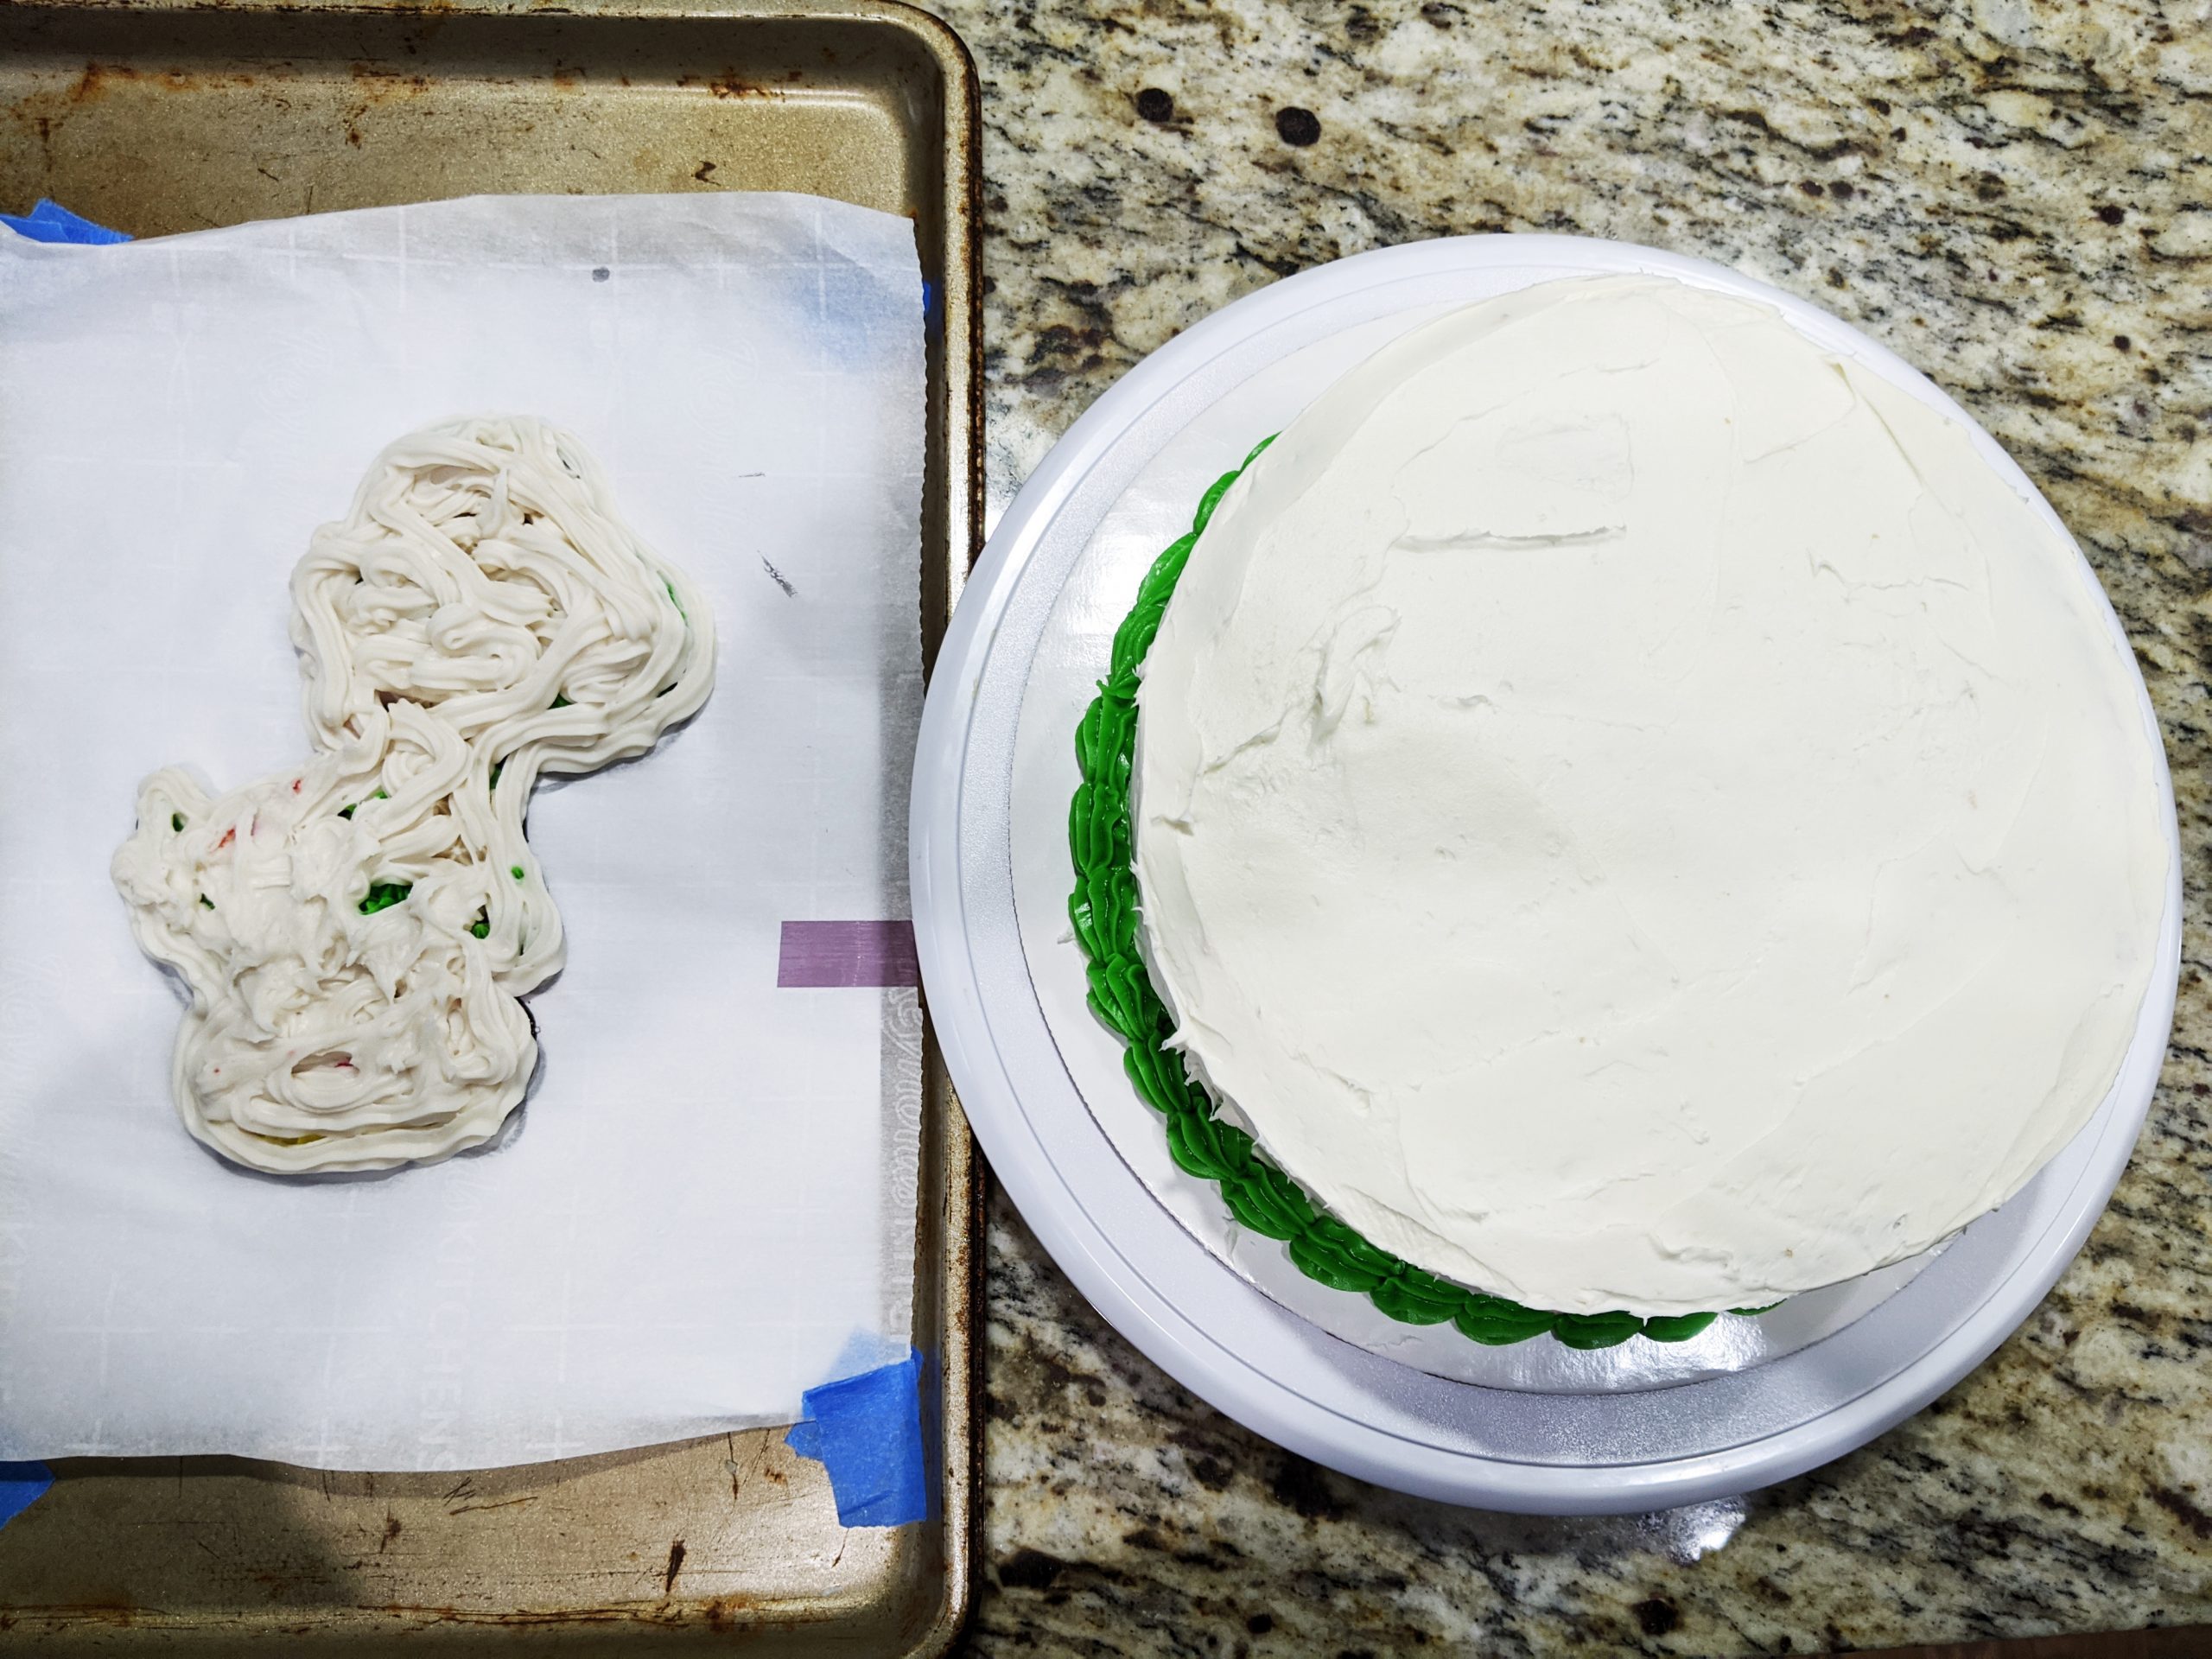
Next, I covered him with a layer of white icing. Allegedly, this helps to make the frozen design a bit more solid. I’m actually not sure if it did any good, but we had extra white icing so…
At this point, he was ready to go into the freezer–cookie sheet and all. We let him freeze overnight. As I mentioned previously, you’ll need to do these steps at least the night before you need the cake. The more frozen the icing design is, the easier it will transfer and the easier it will be to peel off the parchment paper.
The Next Day
The next morning, we removed the frozen design and prepared to transfer to the cake.
I WAS SO NERVOUS.
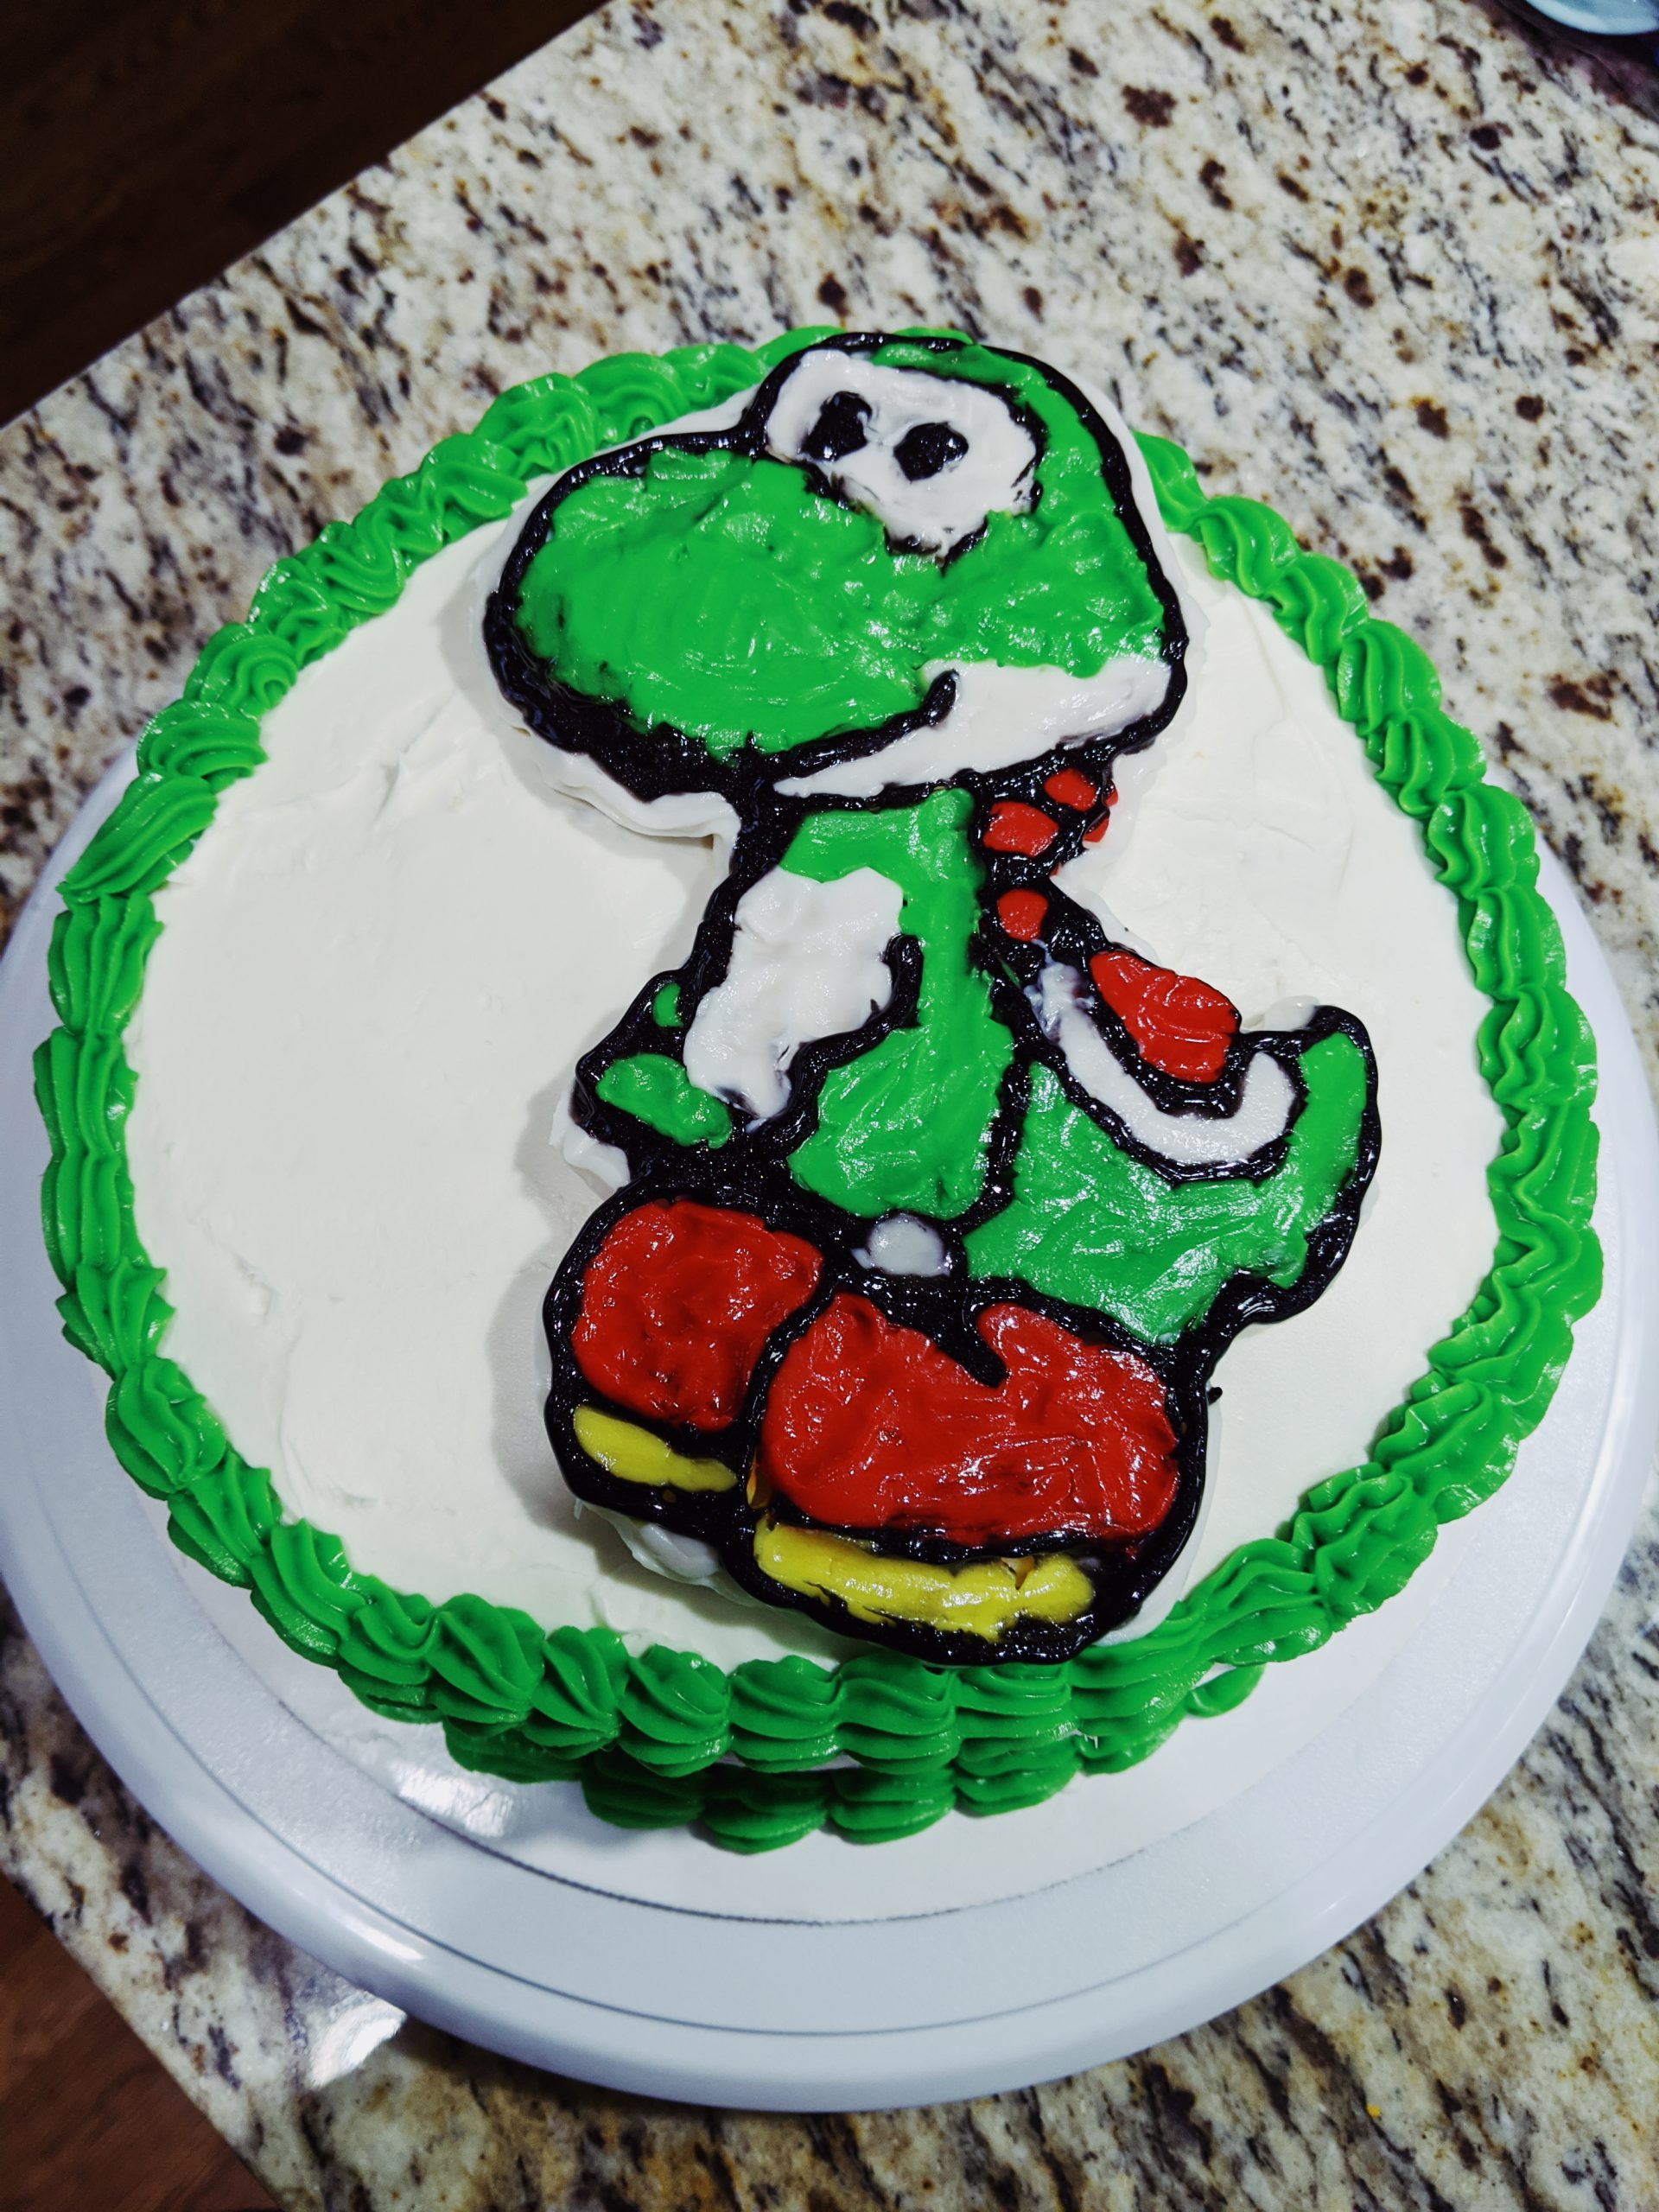
Remove the parchment paper from the cookie sheet and flip the icing design onto your cake. Now, the design should be facing the correct way on the cake, assuming you flipped it when printing earlier. Mine looked a bit wonky due to the Sparkle Gel not transferring as well, so I went over those areas again.
Store the finished product in the refrigerator until you’re ready to serve.
A note on storing/transporting cakes: I purchased this cake/cupcake carrier a decade ago and still use it regularly. It is nice and tall, so you can easily transport taller cakes. You can even do 2 layers of cupcakes! It’s great for storing them in your own fridge at home or transporting to parties.
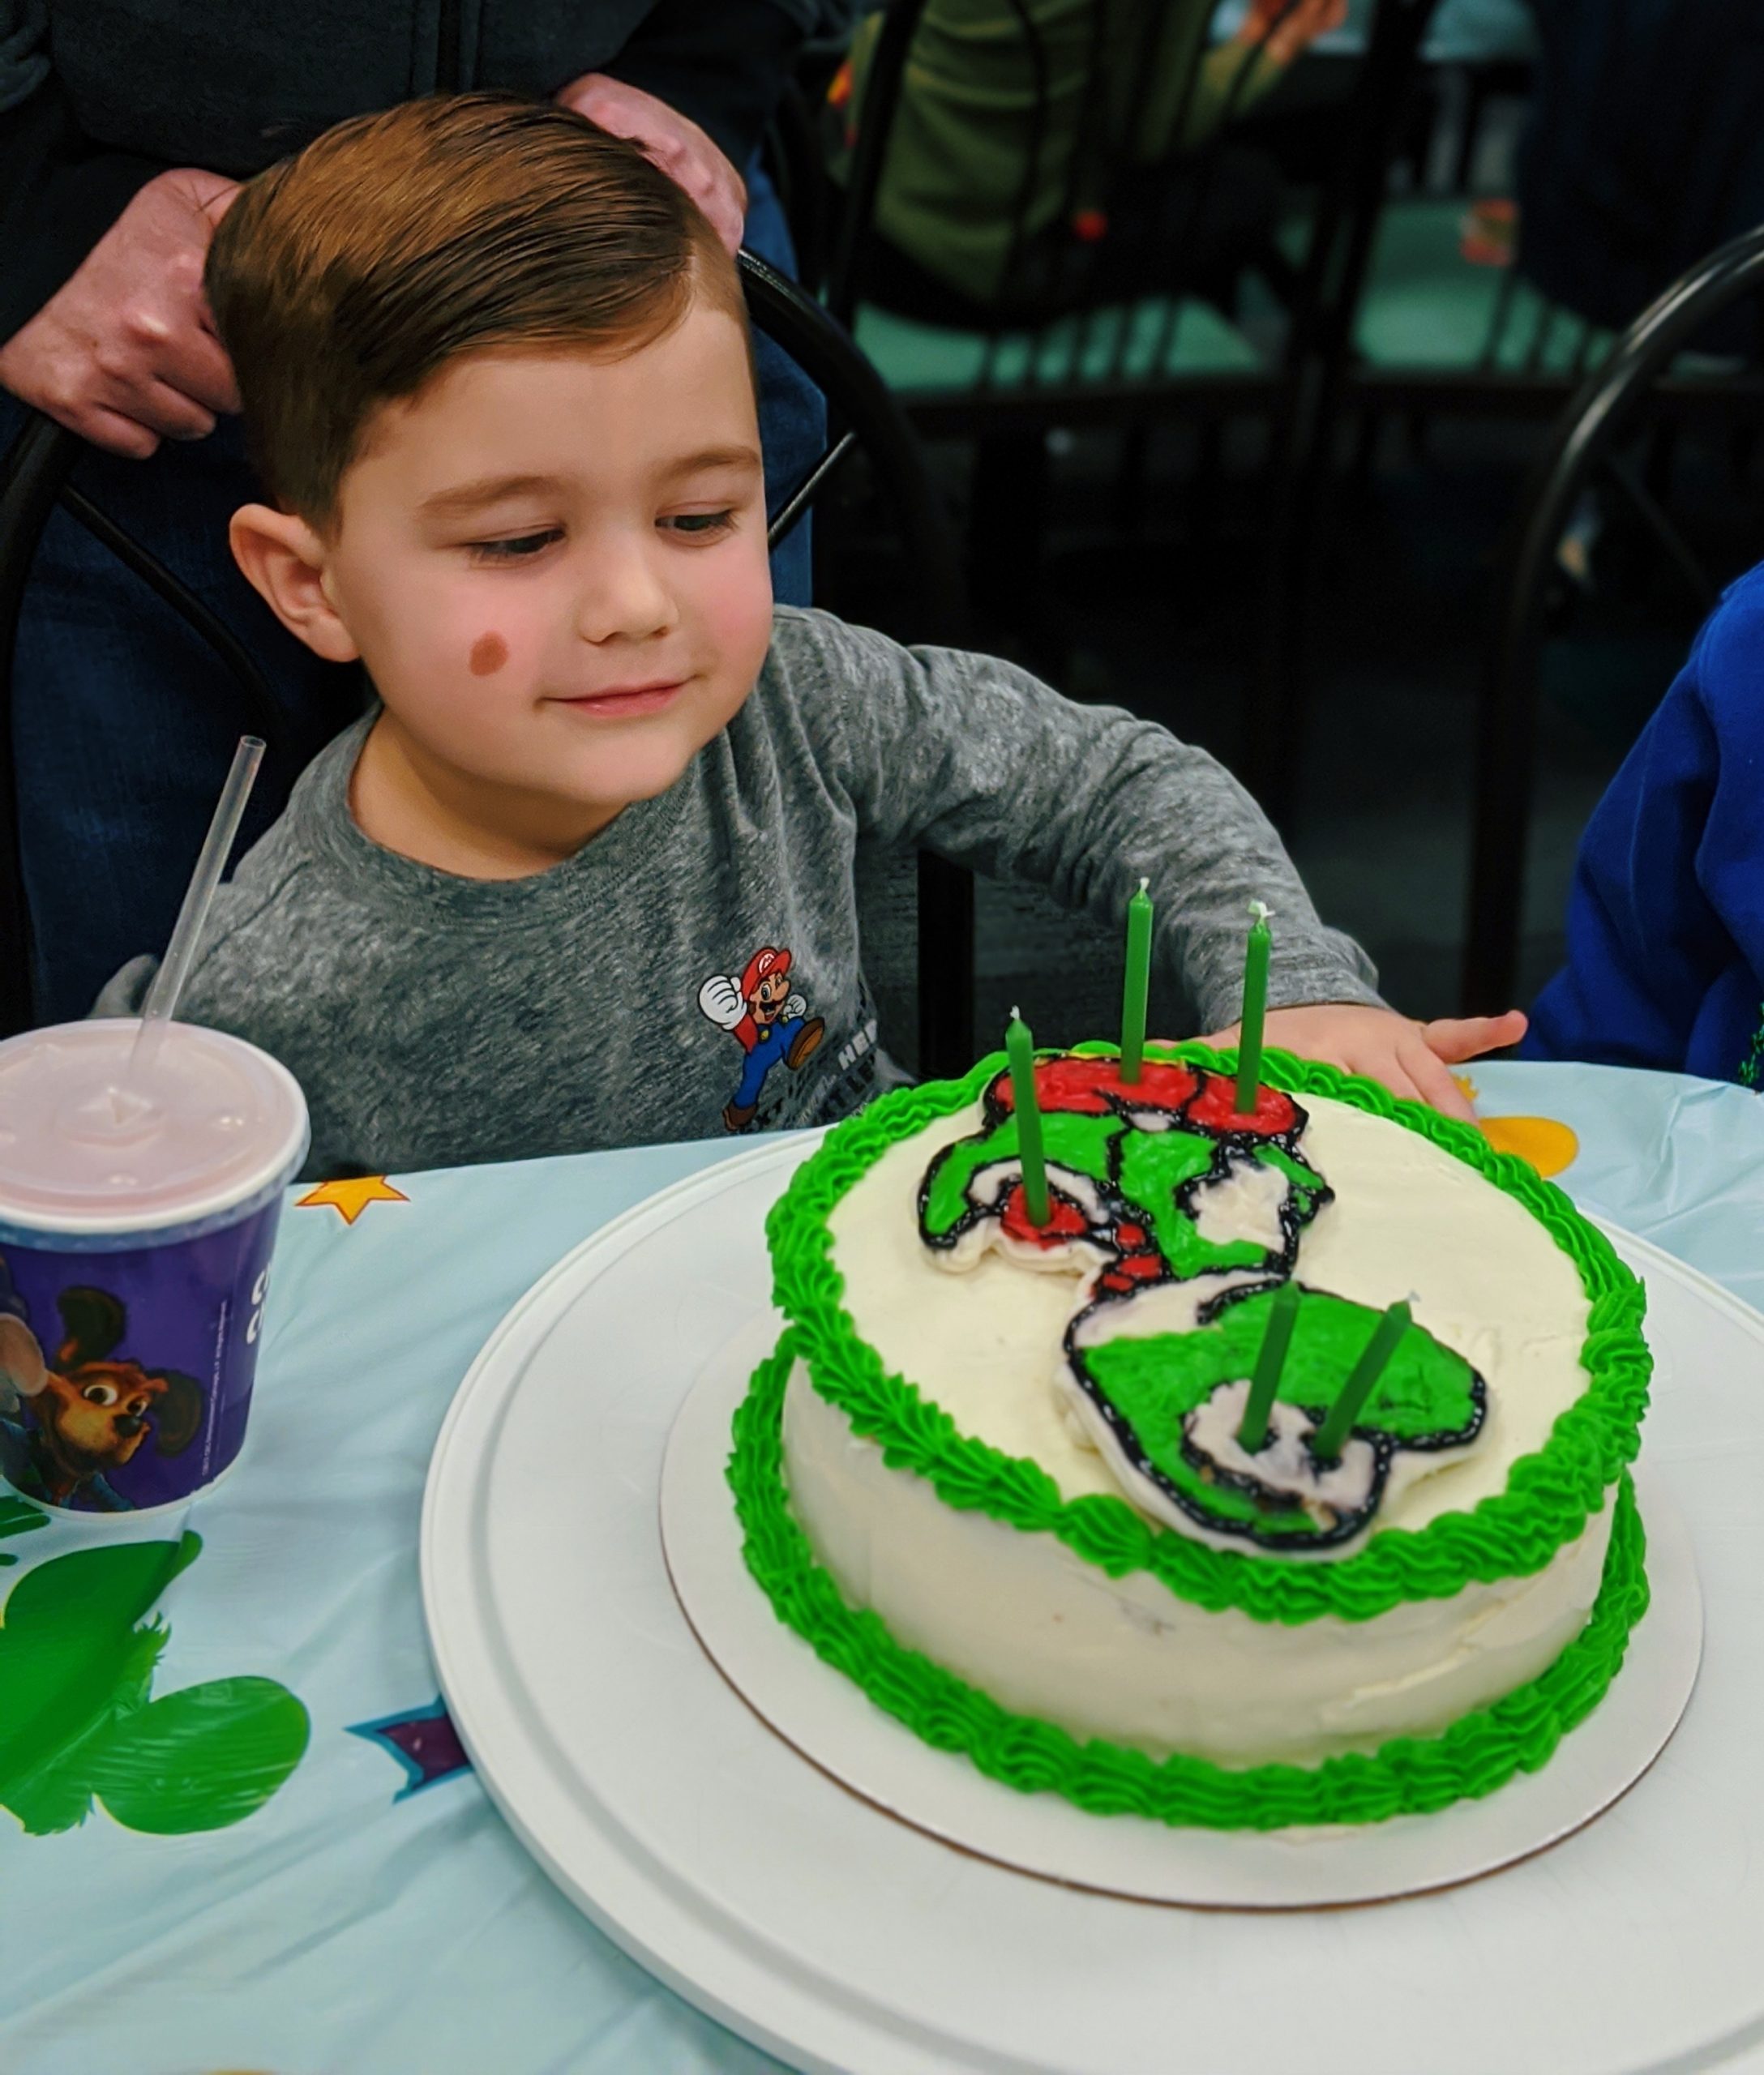
Here’s my birthday boy enjoying his Yoshi cake during his party! He was so proud of the cake and loved telling all his friends how he helped me make it. So, in the end, much better than any grocery store cake. But I still could’ve done without the last-minute stress of grabbing the supplies and making a cake while my husband was out of town.
If you’re wanting to recreate your own character cake, I usually find the best prices on cake decorating supplies here. But make sure to check this site too, as they’ll do some great sitewide sales!
Shop DIY Character Cakes Supplies




5 Comments
That’s a bummer that your cake order was cancelled. I would have been a hot mess! But wow, to this Yoshi cake. It looks great to me. You did such an awesome job and so glad your little guy loved it. Happy belated birthday to Colton!
Maureen | http://www.littlemisscasual.com
Aww, thank you so much! I was definitely freaking out there. Haha. But I’m glad it all worked out in the end!
Aw, this is so cute! You are one talented momma and way better than me. I just go to the local bakery for this stuff! Thanks for sharing and linking up!
Shelbee
http://www.shelbeeontheedge.com
You’re too kind! I actually tried to order this cake and had the order cancelled on me, so I had to improvise last minute. I’m glad it turned out alright! Maybe I’ll be making more cakes in the future…